Rejuva Minerals Application Tips
Patch Test Instructions
To ensure compatibility with your skin, please test our products before regular use. To perform a patch test, apply a small amount of the product to the inside of your wrist or the crook of your elbow. Leave for 24-48 hours without washing. Watch for signs of a reaction, such as redness, a rash, itchiness, etc. If no reaction occurs, the product may be suitable for regular use. However, please discontinue use if any reaction occurs, as sometimes the location or concentration of a product can trigger varying reactions.
How to Apply Mascara
- Unscrew the cap from your mascara tube and examine the mascara wand for clumps. If you see any clumps, wipe the wand on a tissue or on the end of the mascara tube to remove them.
- Apply mascara by wiggling the mascara wand slowly and gently from the base of the lashes outward. This creates a more even application as well as separates the lashes. This also helps "thicken" the lashes. Half-close your eye and gently run the mascara wand over the top of your lashes, being careful not to get mascara on your eyelid.
- Repeat steps 2-3 to apply additional coats (30 strokes per coat) until you have the length and thickness you desire. Additional coats should be applied while the mascara is still wet to avoid clumping or flaking.
How can I get a fuller lash line?
If multiple coats of mascara aren't providing the fullness you are looking for, check to make sure you are coating the lashes at the inner and outer corners of your eyes. These are commonly missed, and can create a fuller look.
Should I apply mascara on my upper lashes only or on my lower lashes as well?
For a light, natural look, we recommend applying on the upper lashes only, particularly if you have fair skin and light eyes. If you have darker eyes and/or are looking for a more dramatic look, you could apply mascara lightly on the lower lashes. Wiggle back and forth from root to tip (starting on the upper side of the lower lashes) to separate and add a hint of color.
When do I use an eye lash curler?
If you are using a manual eyelash curler, curl your lashes before applying mascara. It is recommended to curl lashes immediately before applying mascara (one eye at a time) for best results. If you are using a heated eyelash curler, we recommend curling after the mascara has dried for best results.
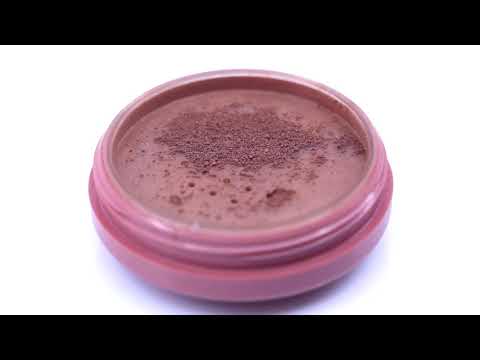
How to Apply Powder Foundation
The primary purpose for using mineral makeup is to even out the skin tone for a more natural and luminous appearance. A sheer application will mirror your skin tone - naturally. Mineral makeup will adjust as it blends with your skins natural oils, creating a flawless look with no line of demarcation.
- The first step to mineral foundation application is to properly prepare your face with moisturizer. Always be sure the moisturizer is completely soaked in before foundation application, in order to avoid streaking.
- Next, you may want to further prepare your skin with a light layer of Multi-Task powder as a primer. This delightful powder is nearly colorless and suitable for all skin tones. It will help create a smooth surface on which to apply your foundation. This is especially good for those with oily skin, large pores and/or scarring.
- To apply the foundation, start with a clean makeup tool made for mineral makeup, such as a Buki brush or Foam puff.
- Pick a small amount of powder up with your brush or puff, and tap off excess.
- Gently buff powder in a circular motion onto skin, starting with areas that need extra coverage.
- Work the foundation into the skin by pressing the brush or puff gently but firmly to your face.
- To get a flawless natural look, always apply mineral foundation in thin, light layers. Keep adding layers until the desired coverage has been reached.
- Your mineral foundation color will deepen slightly, and will set after warming to your skin.
- To greatly reduce (or completely eliminate) waste, mess, and airborne particles when applying loose powder, try our Foam puffs.
- Always remember, less is better! Mineral foundation will "warm" to the skin with a healthy and natural matte finish, with coverage that lasts all day.
Sensitive Skin: When first trying out a new product, it is advisable to try the product in a small area first to see if your skin will have a reaction. Other products that may cause an allergic reaction are hair care products, cleansers, toners and moisturizers. If you experience an initial irritation (itching) after makeup application, this may be due to the bristles from your brush. Make sure you purchase a brush with soft (but firm) bristles. You may also wish to try a synthetic brush, if you are allergic to animal hair, or a makeup puff.
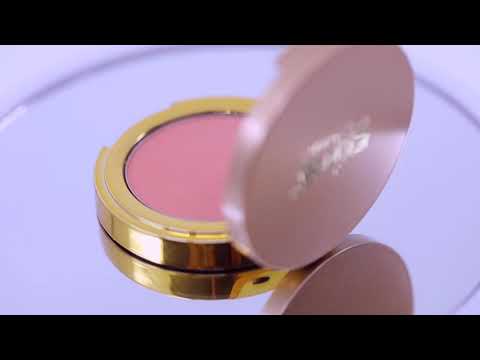
How to Apply Blush
- For best results, apply blush after proper mineral foundation application (please see foundation application tips.)
- Pick up a small amount of powder with your brush, tap off excess.
- Smile to find the "apple" of your cheeks and apply a light layer by moving the brush toward the ear. Be certain to always blend in the powder to avoid any harsh lines.
- To create the illusion of the blush coming from within, apply a light dusting of Multi-Task powder over the blush. Or you may dust lightly with your foundation powder.
How to Apply Eye Liner
Application tips for pencil eyeliner:
- Apply the pencil eyeliner starting at the inner corner of the upper lid, moving outward. Repeat on the lower lid, if desired.
- Follow the liner application with a coat of Rejuva Minerals Brazilian Brown powder (or choose from our other pressed powder shades), which is applied easiest with an angled eyeliner brush (see below for application details). The eye shadow will help set the eyeliner pencil and also give it a softer look.
- Alternately, you may also put a light dusting of Multi-Task powder over the eyeliner pencil. This powder is nearly colorless so it will not detract from the eyeliner intensity.
Application tips for cake eyeliner - Dry
- For best results, choose a dark eye shadow shade such as Brazilian Brown. For best and easiest eye liner application, use an Angled eyeliner brush.
- Load the brush with powder and tap the handle on the edge of the container lid to remove excess product. Working from the outer corner of your eye inward, apply powder close to your lash line holding the brush vertically across half of your eye.
- Reload the brush as above. Working from the inner corner of the eye toward the middle, apply powder close to your lash line holding the brush horizontally so that the tip of the brush first makes contact with the inner corner of your eye. Blend this line into the first one and soften any harsh edges.
- For a modern touch, apply a bit more powder in an upward motion to the outer corner of the eye to create a "baby cats eye". Reload the brush as above. Holding the brush horizontally, apply powder in the same fashion to your lower lid, staying at the lash line and blending out any harsh edges. For a darker, more dramatic liner application, wet your liner brush first before application. Blot slightly then load your brush. This will also help the liner last longer. See below for an effective and sterile application.
Application tips for cake eyeliner - Wet
- Squeeze out a small amount of saline onto a dampen dish (or like container). Dip the angle brush into the saline and lightly press brush against paper towel to remove excess liquid.
- Dip the brush into the liner powder, tap against side of dish to remove excess product and apply to eye. Once application is complete, be sure to wash your dampen dishes and let dry.
How to Apply Eye Shadow
- For the best results, use three shades to shape the eye. These three shades consist of a highlighter, mid-tone (crease) shade and contour shade.
- Use a light shade such as White Diamond as your highlighter color. Highlighter should be applied to your eye lid, blending up toward your brow bone. For a fashionable look, you may also want to apply highlighter to the inner corner of the eye to create a ‘wide awake’ look.
- Use a mid-tone shade such as Mocha Latte, Tropical Sunset or Iris to define the crease of the eye. To apply, start from the outside of the crease and gently move your brush across the crease toward your nose. Make sure to blend well with the highlighter shade so that there are no harsh edges
- For contouring the eyes, use a dark shade, such as Brazilian Brown. Apply your contour shade from the outer corner of your eye to the crease, blending slightly inward. The contour shade should only be applied to the outer third of the eyelid. You may also want to use the contour shade as an eye liner. Please see eye liner application tips.
- For a smokey eye effect, you can use your contour or mid-tone color all over the lid, beginning at the lash line and blend as you move upwards to the crease. Make sure to blend well for the true "smokey eye" look!
Tip: Dark tones make the area seem more dramatic and receding. Lighter shades will bring attention to the eyes and make them appear larger.
How to Apply Concealer
Application tips
- Concealer can be applied either over or under your foundation.
- Place a small amount of powder on your fingertip and dot the product on (dry), or use a concealer brush. Be sure to blend, blend, blend!
- Try a Foam puff - blend in a gentle back and forth "dotting" motion.
- Be careful not to pull or rub the skin.
For dark circles
- If your circles are blue, use Natural, or if your circles are purple, use Golden Sand.
- Using your fingertip or concealer brush, move from the outside corner of the eye inward and then back out again.
- You should also apply a bit slightly below your dark circles to avoid the raccoon look.
- Once application is complete, look in the mirror and smile to see if the application is even, and the product hasn't crept into the little lines around your eye (can be removed with a tissue).