
Ladies, let’s be honest. How many of us undertake a home project, such as hanging a picture, and find we don’t have the right tools for the job for one reason or another? And the best solution sometimes is to grab that high heel just a few feet away and get the job done. Or maybe a screw is loose on the coffee table and you can’t find the flat head screwdriver anywhere. A butter knife just might do the trick. In these situations the substitute tool naturally does not work as well as the one specifically designed for the job. Enter the world of makeup brushes.
It’s Angled, So Why Does My Eyeliner Look like an 80’s Music Video?!
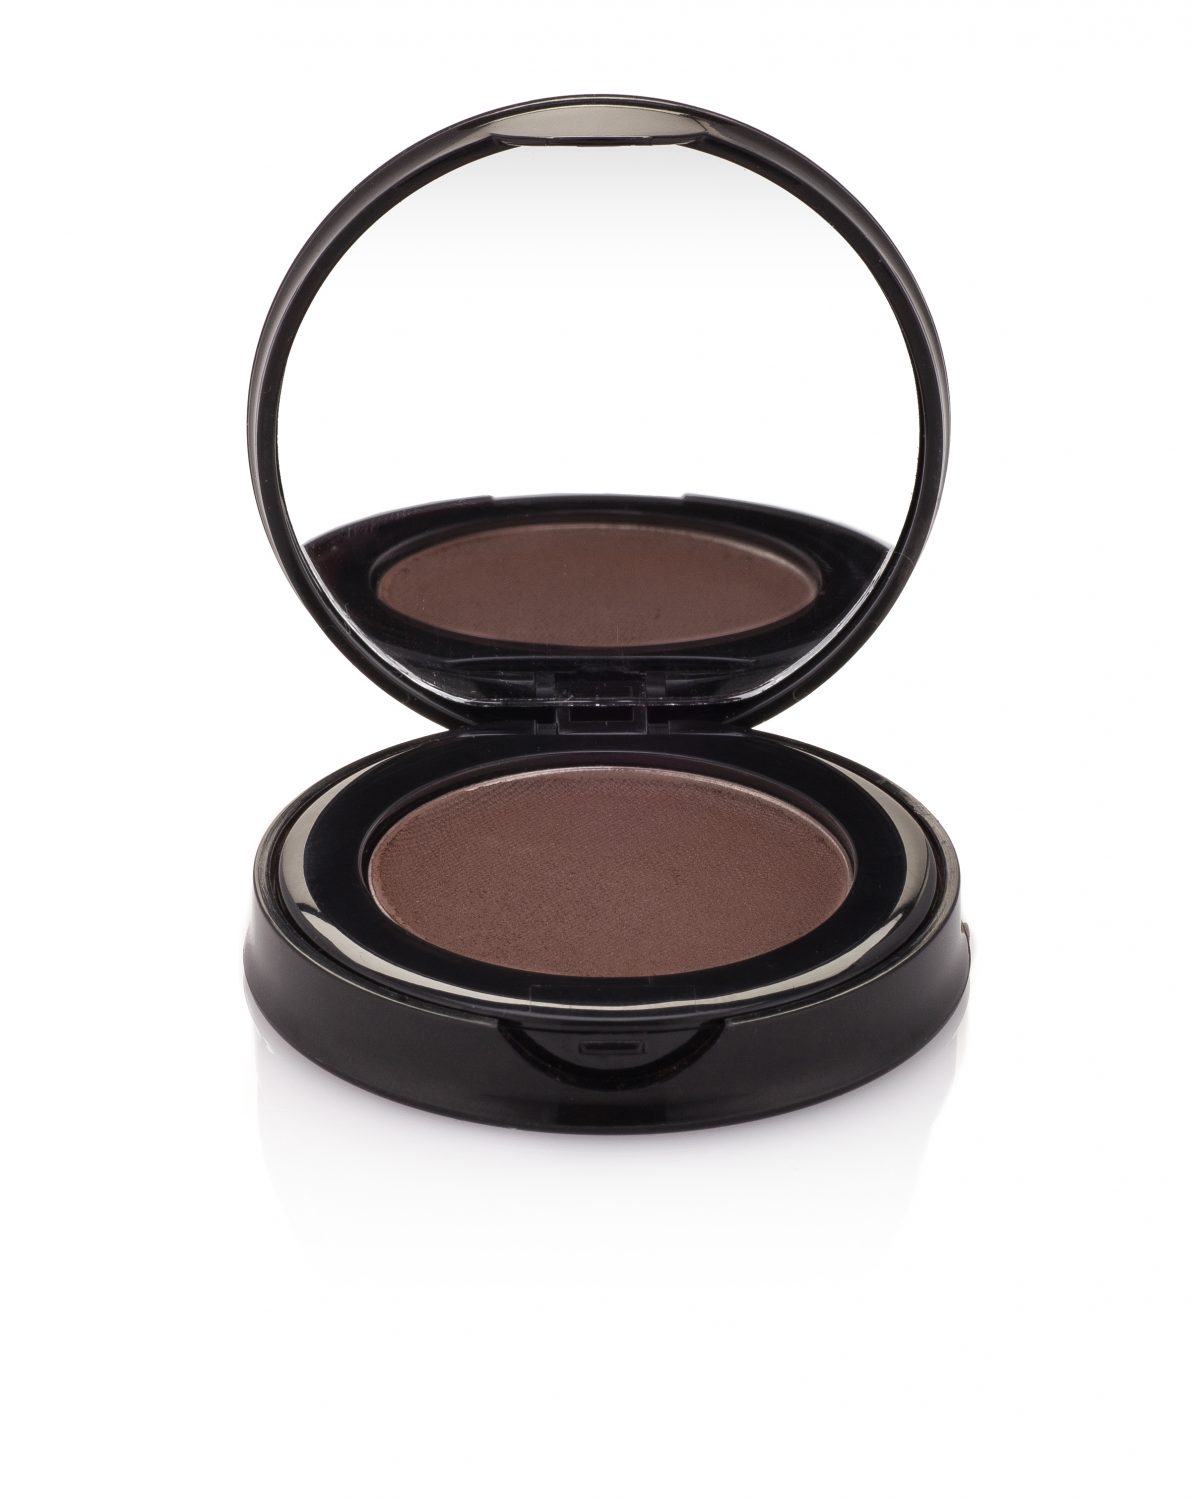
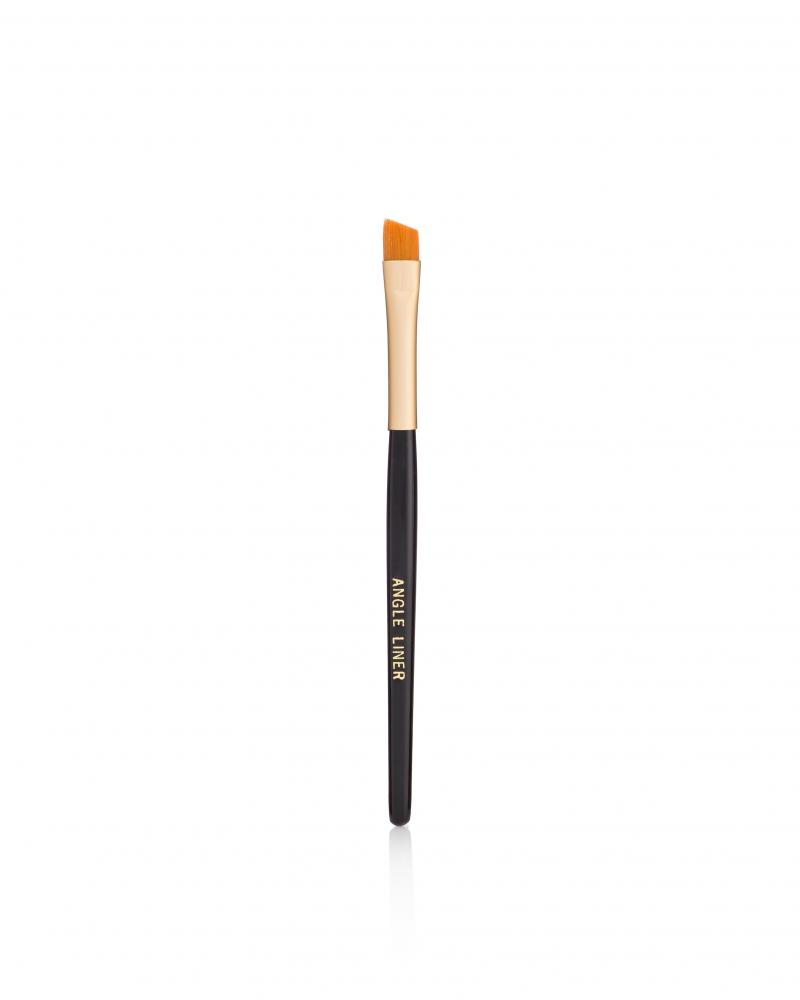
First, all angled brushes are not created equally. There. I said it. So, if you have multiples, line them up (1! 1 angled liner. Ah, ah, ah. 2! 2 angled liners! Ah, ah, ah) and you will see that ‘One of these things is not like the others’! I noticed this when I used my angled brush from a very pricey cosmetics company and found that applying my Brazilian Brown naturally derived and organic cake liner (that’s a mineral pressed powder liner) was a total fail! So, I grabbed another angled liner with short, tightly packed bristles, dampened it in a bit of saline for a more intense pigment deposit and swiped it on. Not impressed. Too much saline? Not enough? I reapplied a few times using both brushes and learned that was not the problem. After about a week I finally located the Angled Liner brush from Rejuva Minerals. To my surprise it worked! I was rockin’ the same perfect sweeping cat eyes I love so much.
Here is where lining them up came in handy and I challenge you to do the same. Look at all the bristles carefully. You might find some are broad/narrow/thinner/thicker/shorter/longer/softer/harder, et cetera and some may even be natural while others may be synthetic. Herein lies the difference. Various forms of eyeliner (pressed, cream, gel, loose) expected application site (tightline, waterline, Lash line above/below) and ingredients (water resistant, clean ingredients, etc.) require different shapes, lengths and types of bristles to create their own unique finish.
I can’t seem to Get Enough Coverage in my Trouble Spots!
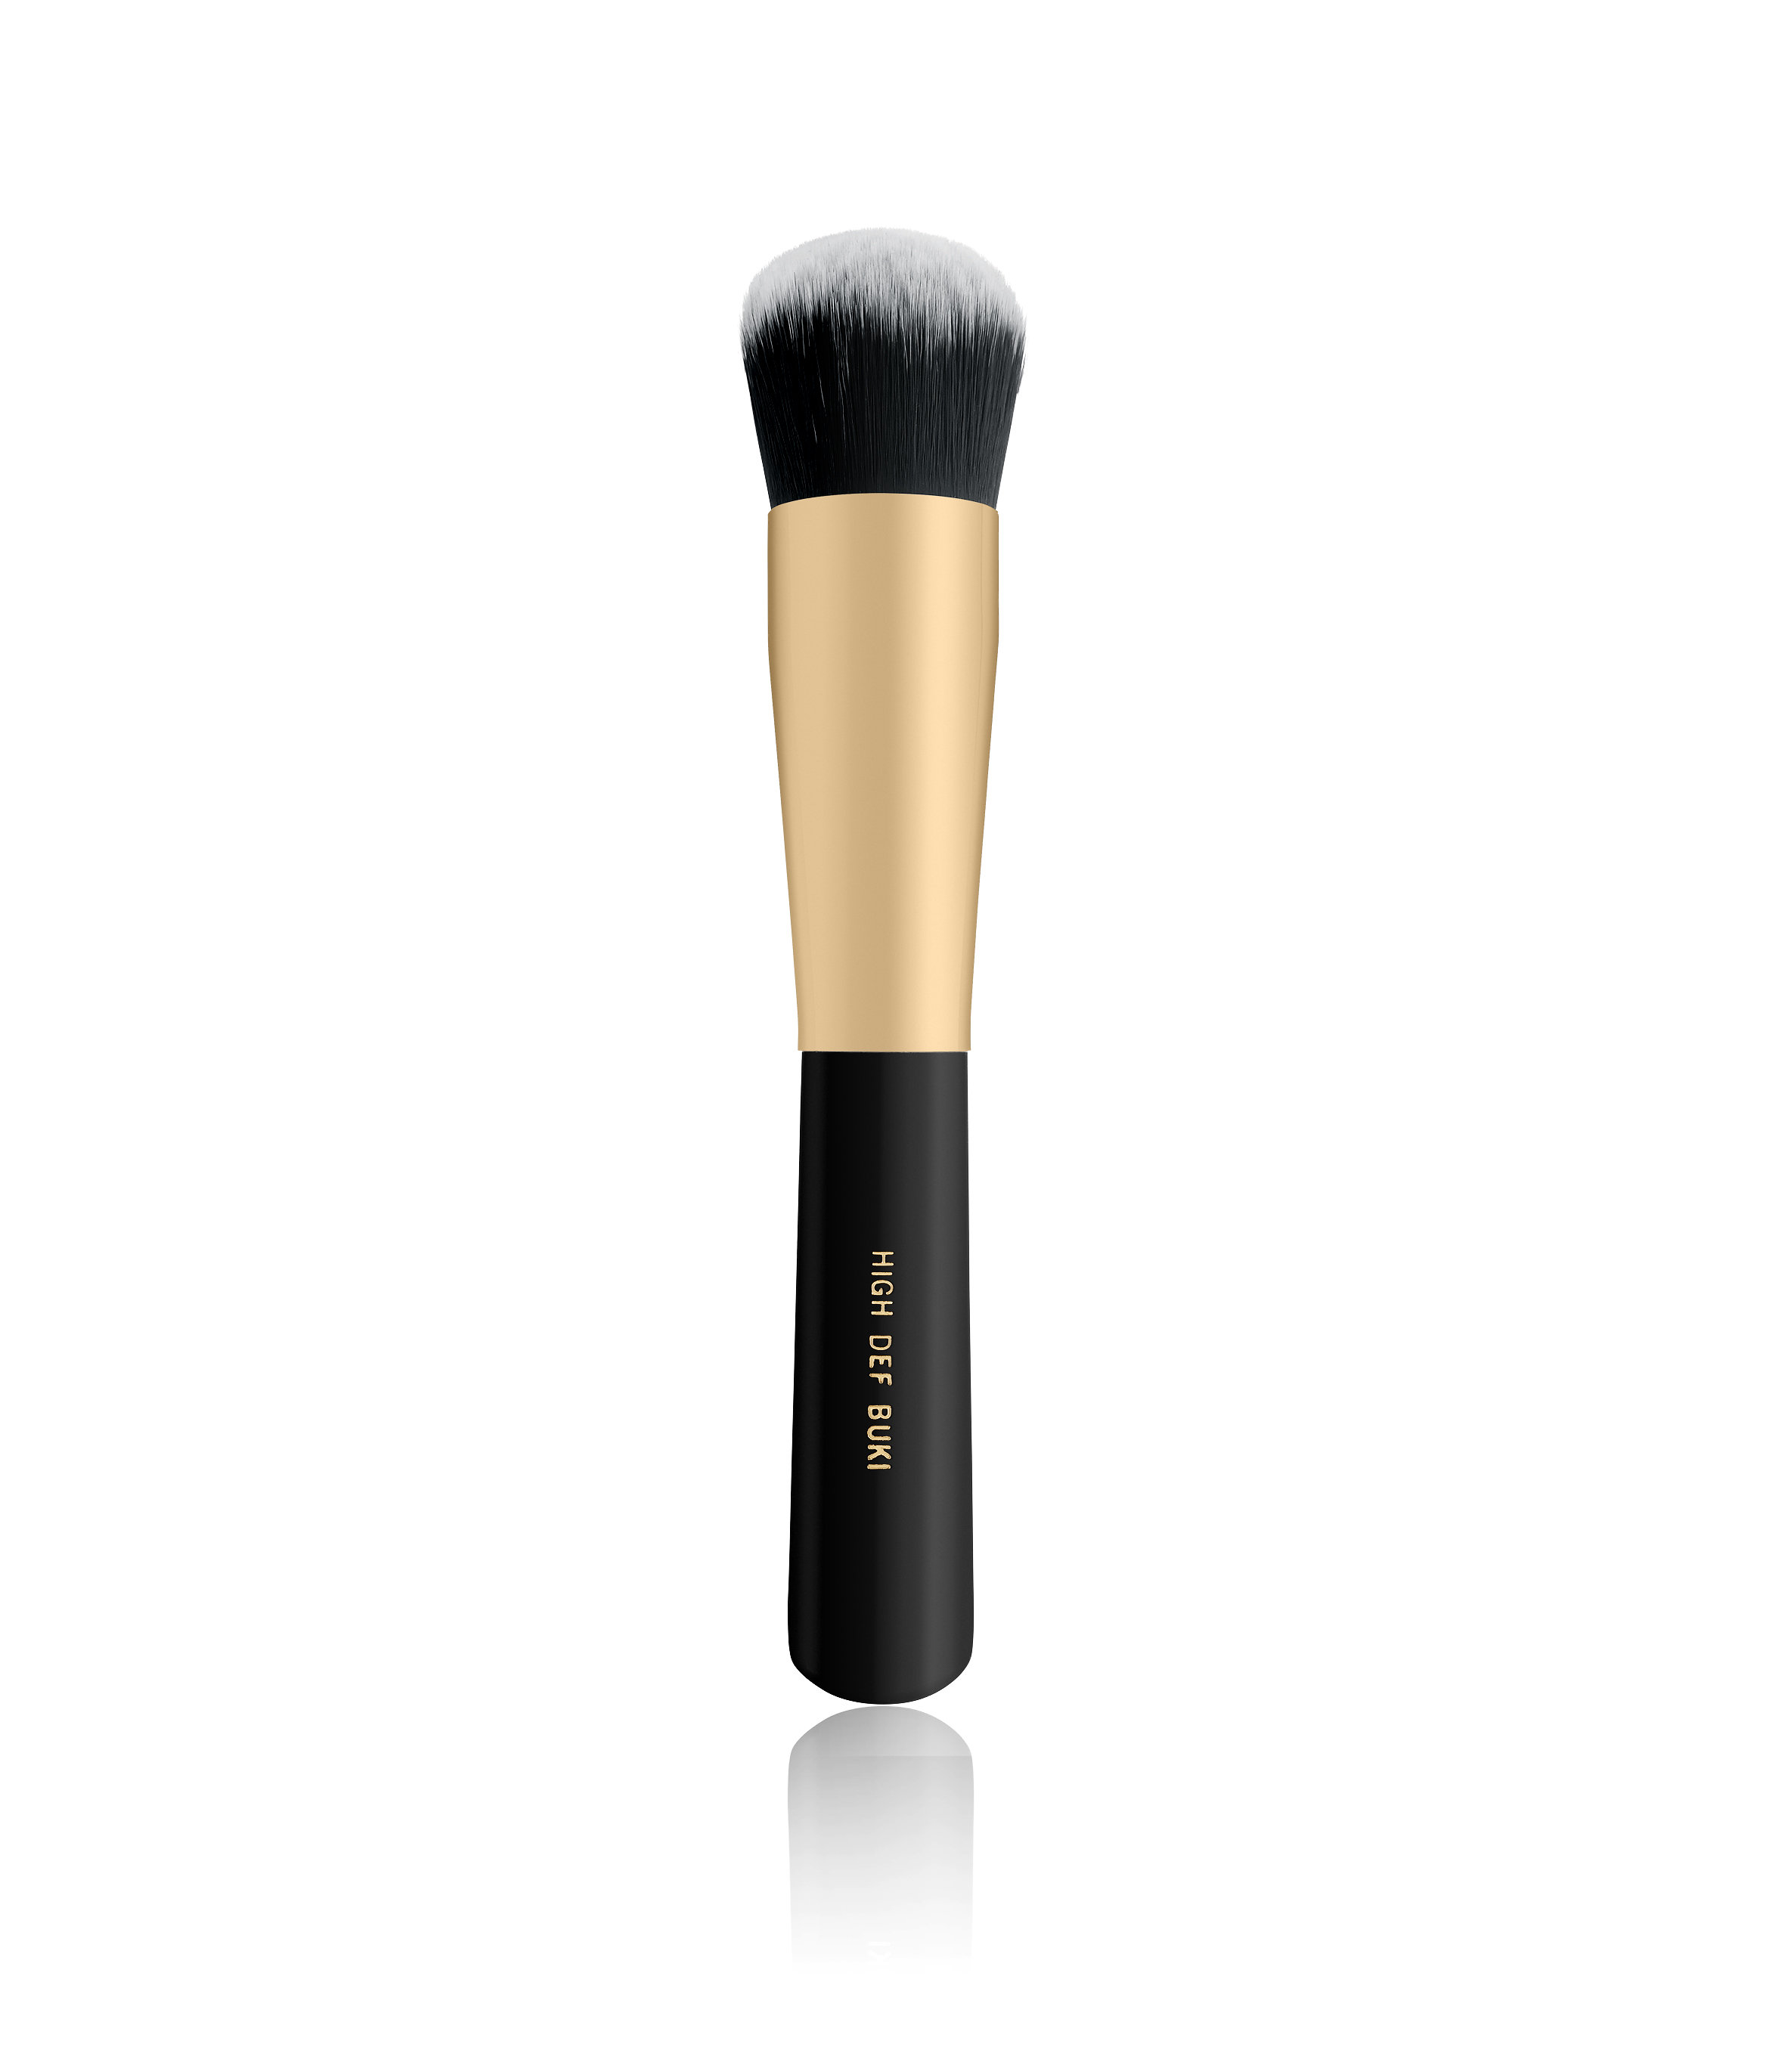
Check out this monster of a brush! Not only does the High Def Buki brush allow you to deposit a hefty amount of powder in one area but the rounded, densely packed bristles allow for better blending afterwards, preventing an uneven finish. Don’t be scared to use it all over! Apply in circular motions for ‘One Fine Face’! And the synthetic bristles make it easy to clean!
If you’re still not where you want to be coverage wise, it may be time to consider one of Rejuva Minerals EWG VERIFIED™ concealers. Not sure which one to choose? Now you can try both balancing shades in a 1 gram sample jar to see which works best for you.
On a side note, if the ‘trouble spot’ is mild, a balancing shade of foundation may be enough to cover. For instance, if you’re a ‘neutral’ with pink undertones but you also have mild rosacea on the cheek area, you might want to try a neutral shade with yellow undertones. Our titanium dioxide free foundations in pressed and loose form are available in 2.8 gram trial size compacts, making it a bit more economical to sample different shades. Look for our new Luminous Crème foundation, expected in August 2017! They will also come in the convenient 2.8 gram trial size compacts.
Help! How Do I Blend out This Contour line?
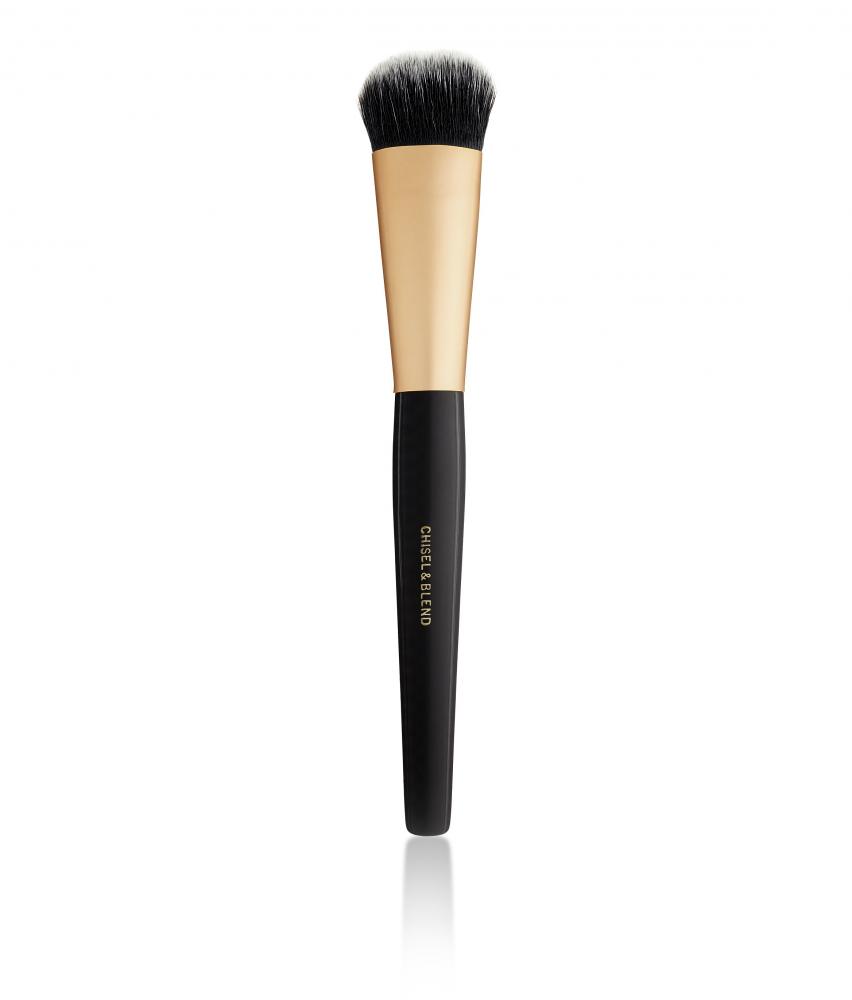
Ugh! What a pain! That’s never pretty but with the proper tool ‘Can you fix it? Yes, you can!’ Try the new Chisel & Blend brush. I’m loving the densely packed yet soft bristles. Perfect for those with sensitive/reactive skin. This must-have brush is suitable for a variety of tasks, so you might want to consider picking up more than one. For example, it makes applying heavier layers of blush so much easier! It’s also pretty good at handling the task of applying highlighter and bronzers with greater precision.
So, here is the take away. The goal is to blend out any noticeable ‘edges’ so that there is an indiscernible ‘melting’ of the contour, highlighting or blush lines in to the foundation and the Chisel & Blend is the best tool to use for this purpose.
3 Shadow Shades, 3 Brushes? Really?!
More or less, yes. Probably. Maybe. ‘Use your imagination!’ We can help here. Start with the All Over Lid brush to apply the mid tone shade. Use the Crease brush for, well, the crease, which is the area that begins just above the fold of the lid and ends about mid lid-ish. Depending on the shape of your eye, you can take it all the way to the inner eye. If you have ‘hooded’ eyes, keep the heavier pigment deposit to the outside of lid and blend until there is an undiscernible ‘melting’ of the shade toward the inner eye. Try the Shadow Blender to ‘melt’ the colors together. Same thing with the contour shade, which can be applied with the Flocked Eye Shadow Sponge or the All Over Lid brush. The new Highlight brush makes applying the lightest shade super quick and easy.
Don’t forget to tap off the excess powder before applying! Not enough tapping? No sweat! Lightly brush away excess with the loose bristles of the Shadow Blender brush. All of our brushes (and most of our products, in fact) are vegan friendly and made in the US, by the way!
Having trouble keeping the shadows in place throughout the day? No sweat! Literally. Our Multi Task primer/finisher is perfect for priming those lids for the smooth, oil free, non-sticky surface necessary for flawless blending of our naturally derived and organic mineral makeup that lasts the day.